
If you’re here, thank you—truly. Your time means a lot, and I’m so grateful you’re stopping by to explore one of my absolute favorite indulgent treats. Whether you’re a dessert enthusiast, an ice cream aficionado, or just someone craving something cold and creamy on a warm day, you’re in the right place. Today I’m sharing something magical: Homemade Soft Serve Ice Cream (No-Churn). That’s right—no fancy ice cream machine, no complicated cooking steps. Just a simple, tried-and-true method that delivers that smooth, airy texture we all love about soft serve.
And yes—it’s absolutely doable in your kitchen. With just three core ingredients and a little freezer patience, you’ll have rich, swirly soft serve that’s ready to scoop into cones or pile into bowls.
What Is No-Churn Soft Serve Ice Cream?
Traditional soft serve relies on a machine to whip air into an ice cream base while freezing it, giving it that characteristic lightness and swirl. With this no-churn version, we recreate the same effect using whipped cream. The key is beating air into the cream to create volume and folding it gently into a sweetened condensed milk base. That combination gives you a smooth, creamy texture without the need for any equipment beyond a hand or stand mixer.
The magic of this method is in the simplicity. You control the ingredients. You decide the flavors. And the result? A delightfully luscious frozen treat that’s ready whenever your sweet tooth calls.
Why You’ll Love This Homemade Soft Serve Ice Cream
There’s a lot to love about this recipe—more than just the fact that it’s delicious.
First and foremost, it’s easy. We’re talking 10 minutes of hands-on time. That’s faster than driving to the store.
Second, you don’t need an ice cream machine or any other specialty equipment. A bowl and a mixer will do the trick.
Third, it’s fully customizable. Once you’ve mastered the vanilla base, you can tweak the flavors endlessly. From chocolate to peppermint, almond to coconut, fruit puree to crushed candy—you can create your own signature soft serve flavor at home.
Finally, it’s cost-effective. High-quality soft serve can be pricey at specialty shops. Making your own saves money and lets you skip the preservatives and additives commonly found in store-bought versions.
What Does This No-Churn Ice Cream Taste Like?
Imagine spooning into something soft and velvety, with a silky mouthfeel and just the right amount of sweetness. The vanilla comes through cleanly and warmly, balancing the richness of the cream with the mellow sweetness of condensed milk.
The whipped cream makes the final product lighter than traditional ice cream, mimicking that distinctive soft serve texture. It melts delicately on your tongue and leaves you craving another bite. Whether you enjoy it plain or dressed up with toppings, this is one of those desserts you’ll find yourself making again and again.
Benefits of Making This Ice Cream at Home
Making soft serve at home isn’t just fun—it also has a bunch of practical benefits.
1. Ingredient Control: You know exactly what’s going into your dessert. That means no preservatives, artificial colors, or hidden allergens.
2. Allergy Adaptability: You can substitute ingredients for dairy-free or low-sugar versions to meet your dietary needs.
3. Flavor Freedom: Want bubblegum? Try this Bubblegum Ice Cream Recipe. Craving something fruity and whimsical? Go with this Aurora Candy Recipe. You’re in control.
4. Convenience: No need to run to the store. You can prep and freeze it all in advance.
5. Kid-Friendly Activity: Children love helping with the folding, swirling, and, of course, decorating with their favorite toppings.
Ingredients You’ll Need
Basic Ingredients
- 2 cups heavy whipping cream (cold)
- 9 oz (about ¾ of a standard 14 oz can) sweetened condensed milk
- 2 teaspoons pure vanilla extract
These three ingredients form your soft serve base—creamy, stable, and oh-so-luscious.
Optional Add-ins
- ¼ cup unsweetened cocoa powder (for chocolate soft serve)
- Mini chocolate chips
- Crushed sandwich cookies
- Fruit puree (strawberry, raspberry, mango)
- Sprinkles, candy bits, or caramel drizzle
Flavor Variations
- Swap vanilla extract for almond, peppermint, or coconut
- Add instant coffee or espresso powder for a mocha twist
- Blend in fruit syrups for a ripple effect
- Stir in shredded coconut and almonds for a homemade spin on Chocolate Covered Coconut Almond Bites
Tools You’ll Need
- Large mixing bowl
- Hand mixer or stand mixer
- Medium mixing bowl (for condensed milk mixture)
- Spatula (for folding)
- Loaf pan or freezer-safe container
- Plastic wrap or tight-sealing lid
- Piping bag and large star tip (optional, for swirl effect)
No-churn means no machine, and that’s what makes this recipe so accessible.
Ingredient Substitutions and Customizations
Non-Dairy Version
- Use coconut cream in place of heavy cream
- Swap traditional condensed milk for a dairy-free coconut version
Lower Sugar Version
- Use low-sugar sweetened condensed milk
- Add a pinch of salt to balance sweetness
Kid-Friendly Flavors
- Add drops of food coloring for a rainbow swirl
- Mix in crushed candy, like gumballs or jelly beans
Holiday Inspired
- Peppermint extract with crushed candy canes for winter
- Cinnamon and nutmeg for a fall-spiced version
How to Make Homemade Soft Serve Ice Cream (No-Churn)
Step 1: Whip the Cream
Pour your cold heavy whipping cream into a large mixing bowl. Using a hand mixer or stand mixer on high speed, whip the cream until stiff peaks form. This will take about 3 to 4 minutes. You’ll know it’s ready when the cream holds its shape and clings to the beater without collapsing.
Step 2: Mix Sweetened Condensed Milk and Vanilla
In a separate bowl, combine the sweetened condensed milk and vanilla extract. If you’re adding cocoa powder or other flavorings, incorporate them at this stage.
Step 3: Fold the Mixtures Together
Using a spatula, gently fold the whipped cream into the sweetened condensed milk mixture. Do this slowly and carefully to avoid deflating the whipped cream. The goal is to retain as much air as possible, creating that light, soft texture.
Step 4: Transfer and Freeze
Pour the mixture into a loaf pan or any freezer-safe container. Smooth the top and cover with plastic wrap or a lid. Freeze for at least 6 hours, or preferably overnight.
Step 5: Serve with Style
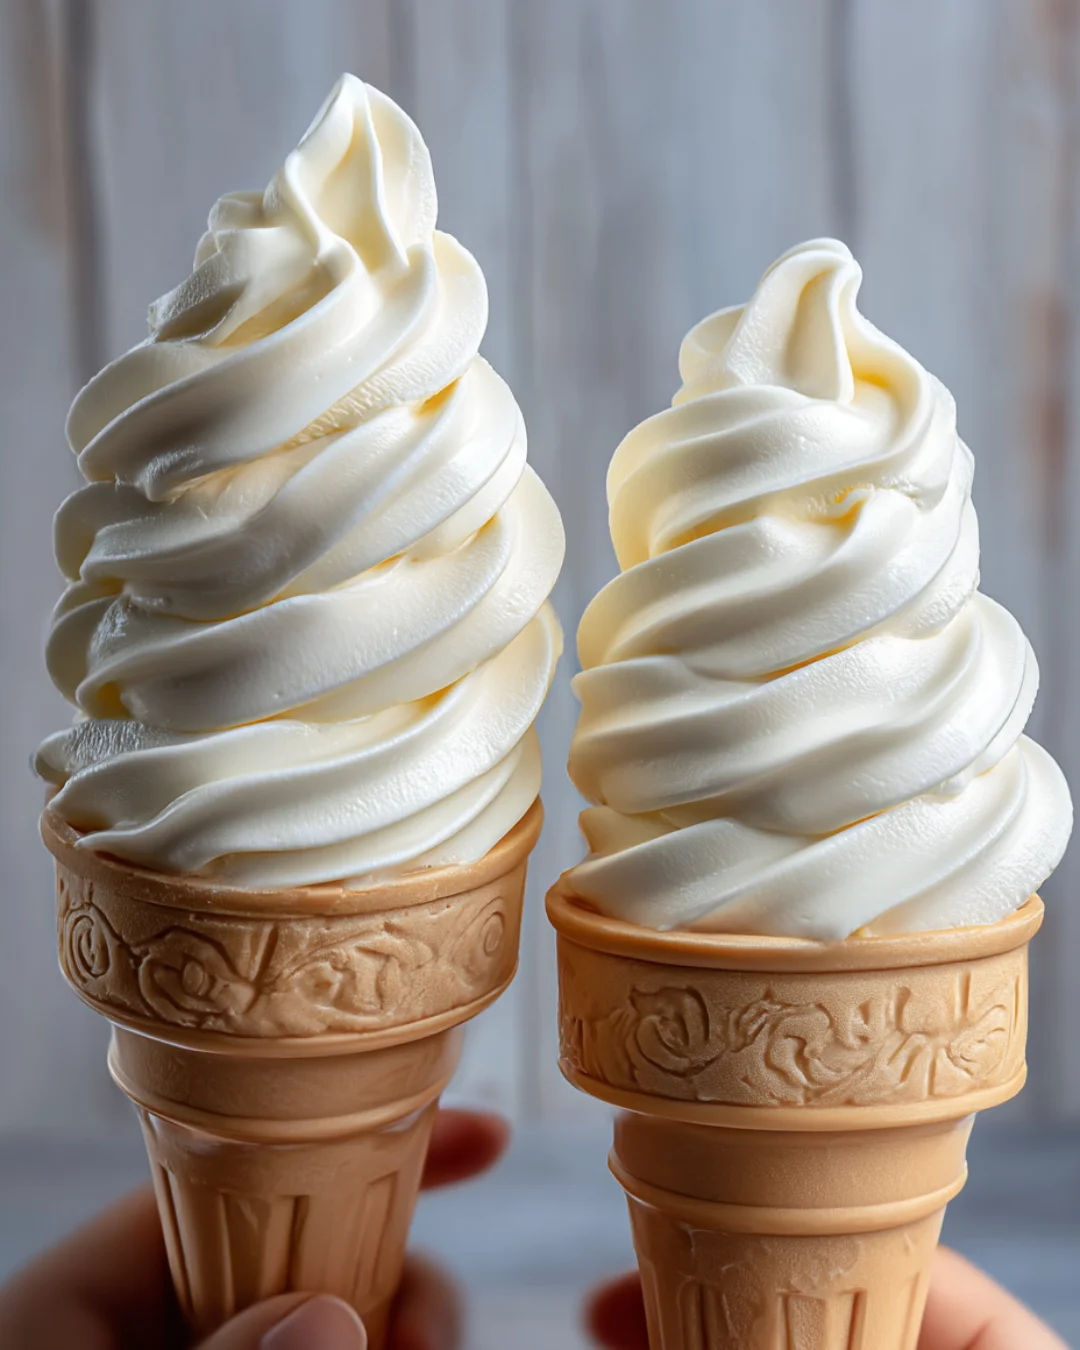
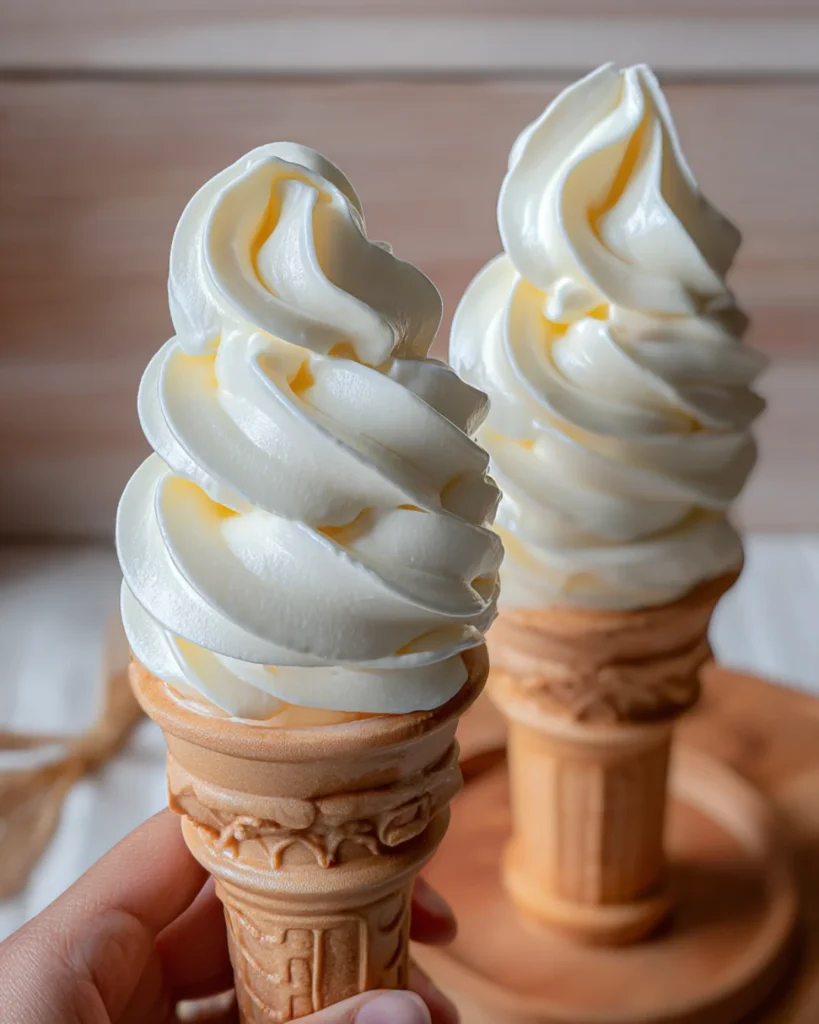
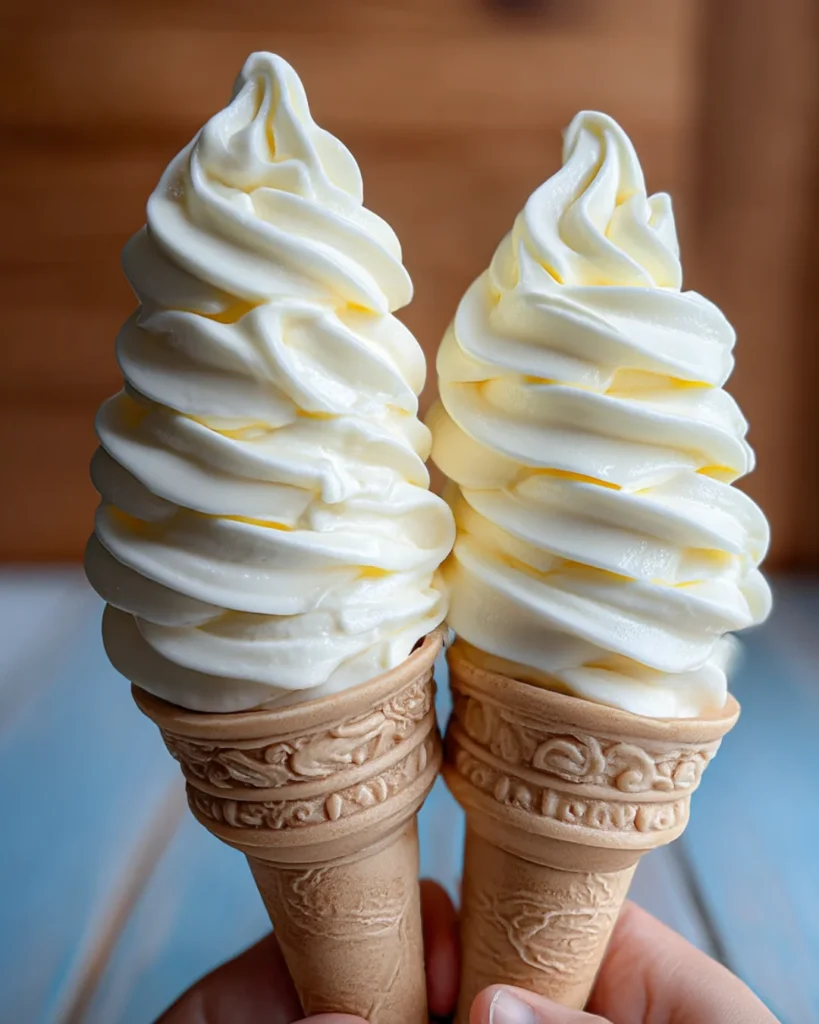
When you’re ready to serve, let the ice cream sit at room temperature for 5 to 10 minutes. For a true soft-serve look, scoop the ice cream into a piping bag fitted with a star tip and swirl it into cones.
What to Serve with Your Soft Serve Ice Cream
Soft serve is incredibly versatile. Here are some fun serving ideas:
- Classic cones: sugar, cake, or waffle
- Toppings bar: crushed nuts, sprinkles, mini candies, cookie crumbs
- Sauces: hot fudge, caramel, berry coulis
- Side treats: Serve over brownies, with warm pie, or sandwiched between cookies
- Fruit bowls: Top fresh berries with a swirl for a light, fruity dessert
Make it a full-on sundae bar for your next gathering!
Tips for Making Perfect No-Churn Soft Serve
1. Use Cold Ingredients: Cold cream whips better and faster. Consider chilling your mixing bowl for 10 minutes beforehand.
2. Don’t Overwhip: Stiff peaks are great—grainy or separated cream is not. Stop whipping as soon as peaks form.
3. Fold Gently: Vigorous stirring will knock the air out. Use slow, deliberate strokes.
4. Freeze Flat: Use a shallow container to freeze your mixture evenly.
5. Serve Like a Pro: To get that classic swirl, use a piping bag and tip. For softest texture, let the ice cream sit out a few minutes before serving.
Storage Instructions
Store your soft serve in an airtight container in the coldest part of your freezer. For best texture and flavor, consume within two weeks. If the surface starts to crystallize, scrape off the top layer before serving.
To make scooping easier, let the container sit at room temperature for 5 to 10 minutes before using.
General Recipe Information
- Preparation Time: 10 minutes
- Freezing Time: 6+ hours
- Yield: 5–6 servings
- Skill Level: Beginner-friendly
- Dietary Tags: Gluten-free, egg-free (as long as your add-ins are)
Frequently Asked Questions (FAQ)
Can I make this without an electric mixer?
You can, but whipping cream by hand will take significantly longer and more effort. It’s possible with a balloon whisk and some elbow grease.
Can I double or triple the recipe?
Yes, absolutely. Just use a larger container or divide it into multiple pans for freezing. Keep the same whipping and folding technique.
Is this gluten-free?
Yes, the base recipe is gluten-free. Be cautious with add-ins like cookies or candy, which may contain gluten.
Can I make it less sweet?
You can try using less condensed milk or switching to a low-sugar version. Just note that the sweetness helps with texture and flavor, so test in small batches first.
How do I get the swirl like real soft serve?
Use a piping bag with a large star tip. Let the ice cream soften slightly, then pipe it into cones or bowls. It’s just as fun to make as it is to eat!
Conclusion
Making Homemade Soft Serve Ice Cream (No-Churn) is not only easy—it’s empowering. There’s something so satisfying about turning a few humble ingredients into a frozen dessert that rivals anything from a scoop shop. It’s customizable, crowd-pleasing, and utterly delicious. Whether you’re keeping it classic with vanilla or swirling in a candy-colored surprise, this recipe belongs in your dessert rotation.
For more fun and nostalgic frozen treats, check out these related recipes:
- Bubblegum Ice Cream Recipe – Sweet, colorful, and just the right amount of retro
- Aurora Candy Recipe – Perfect for topping your soft serve or gifting as a sweet extra
- Chocolate Covered Coconut Almond Bites – A delicious add-in or accompaniment for tropical flavor fans
Share Your Swirls!
Tried this recipe? I’d love to see it! Leave a comment below with your flavor variations or tag your creations on Pinterest so we can all marvel at those homemade soft serve swirls.
Nutritional Information (Approximate Per Serving)
- Calories: 310
- Total Fat: 22g
- Saturated Fat: 14g
- Carbohydrates: 25g
- Sugars: 24g
- Protein: 3g
- Fiber: 0g
- Sodium: 65mg
Soft, smooth, and undeniably satisfying—this no-churn soft serve ice cream is a freezer staple you’ll reach
Print
Homemade Soft Serve Ice Cream (No-Churn)
Description
Homemade soft serve ice cream (no-churn) is creamy, dreamy, and made with just 3 simple ingredients—no machine needed! Light, sweet, and endlessly customizable, it’s the perfect treat to whip up in minutes and freeze for any occasion. Swirl it into cones or scoop it into bowls—either way, you’re about to fall in love with your new go-to summer dessert.
Ingredients
-
2 cups cold heavy whipping cream
-
9 oz (about ¾ of a standard 14 oz can) sweetened condensed milk
-
2 teaspoons pure vanilla extract
Optional Add-Ins (Mix & Match!)
-
¼ cup unsweetened cocoa powder (for chocolate version)
-
Mini chocolate chips
-
Crushed cookies or graham crackers
-
Swirls of fruit puree (strawberry, mango, etc.)
-
Candy pieces or sprinkles
Instructions
-
Whip the Cream
In a large mixing bowl, beat the cold heavy whipping cream with a hand or stand mixer on high until stiff peaks form (about 3–4 minutes). You want it fluffy and firm but not grainy. -
Mix the Base
In a separate medium bowl, stir together the sweetened condensed milk and vanilla extract until smooth. If you’re adding cocoa powder or flavor extracts, mix them in now. -
Fold it Together
Gently fold the whipped cream into the condensed milk mixture using a spatula. Take your time and use slow, sweeping motions to keep all that lovely air in. -
Freeze
Transfer the mixture into a loaf pan or freezer-safe container. Smooth the top, cover with plastic wrap or a lid, and freeze for at least 6 hours, or overnight for best texture.
-
Serve Soft-Style
Let sit at room temperature for 5–10 minutes before scooping. For a true soft-serve look, scoop into a piping bag with a star tip and swirl into cones or cups.
Notes
-
Chill Your Tools: For best results, pop your mixing bowl and beaters in the fridge or freezer for 10 minutes before whipping the cream.
-
Dairy-Free Option: Use coconut cream and a plant-based sweetened condensed milk to make it vegan-friendly.
-
Flavor Variations: Try almond, peppermint, or coconut extract in place of vanilla. Stir in cookie crumbs, fruit ripples, or chopped nuts for extra flair.
-
Serving Tip: For smoother scooping, let the ice cream sit at room temp for a few minutes or microwave it for 5–10 seconds before serving.
-
Storage: Keeps well in the freezer for up to 2 weeks in an airtight container—but it probably won’t last that long!